Tutorial mautic 2.16.3
1- Use a recomended server for aapanel Centos 7.1+. I use Centos 7.6 x64;
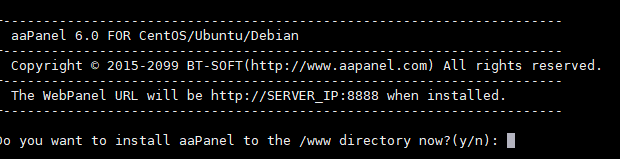
2-Acess the server as root and install the aapanel script;
'yum install -y wget && wget -O install.sh http://www.aapanel.com/script/install_6.0_en.sh && bash install.sh'
Press "yes" ou "y" in all steps.
3- Acesse the login information create by server
Congratulations! Installed successfully!
aaPanel Internal Address: https://158.245.46.84:8888/2c931050
username: iwglcas5zv
password: 8e5505b3d
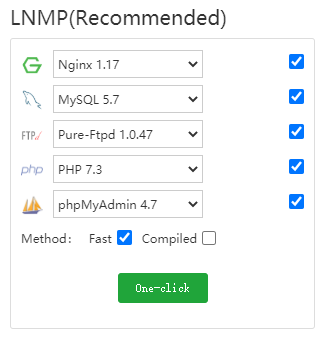
3- When logging into the panel, install the essential services to run your mautic on the server.
Install this services. I prefer ngix, but you can also use apache 2.4
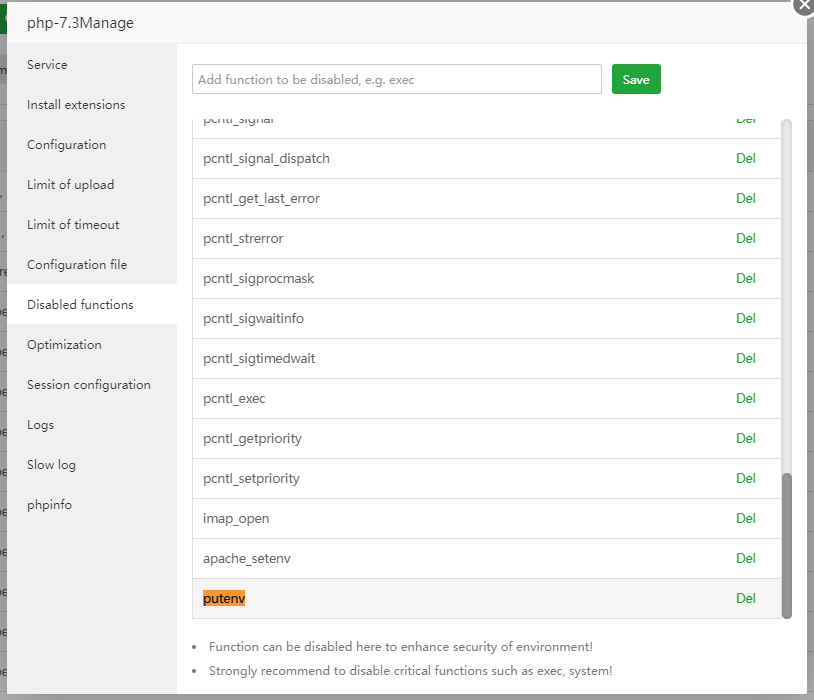
4- Enable the 'putenv()' funcion in your server. for security reasons this function is disabled natively
App Store > php 7.3 setting > disabled funcions > find "putenv" and clique 'del'.
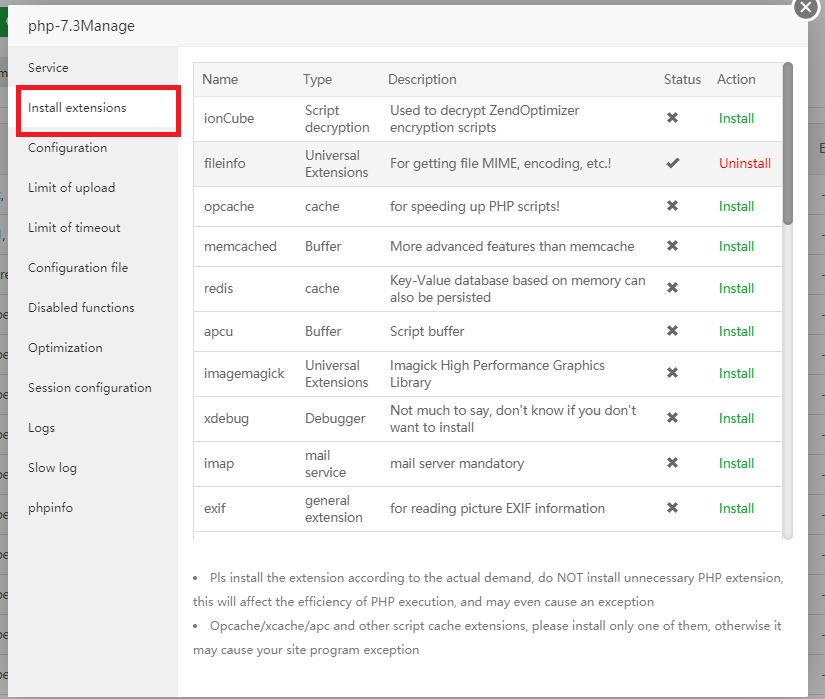
5- Install fileinfo extention. App Store > php 7.3 setting >Install extensions > choice install 'fileinfo';
6- Add your domain to create your webroot. Website > Addsite
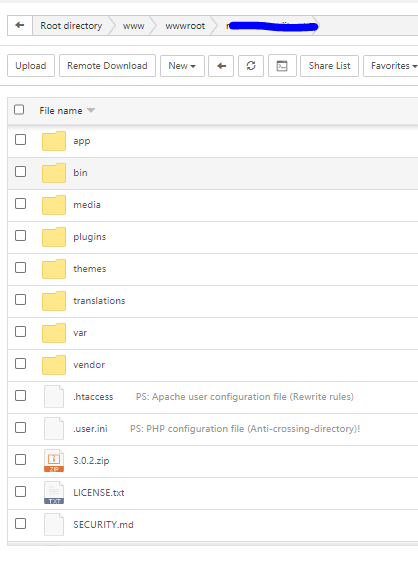
7- Download your mautic.
Go to webroot, del index. html. Clique in "remote download" and download the mautic version on webroot:
'https://github.com/mautic/mautic/releases/download/2.16.3/2.16.3.zip'

8-- Uncompress files in your directory;
9- Set file permission to execute the installer:
chmod 770 * -R
or set
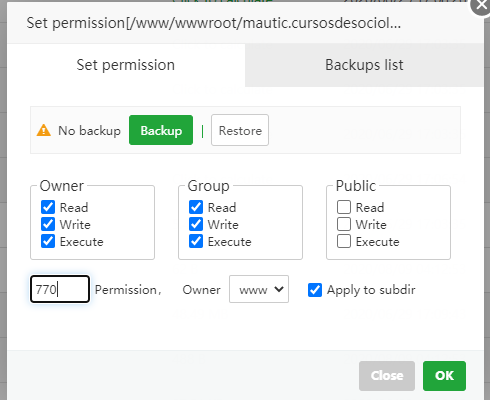
If you want, save default premission before changes;
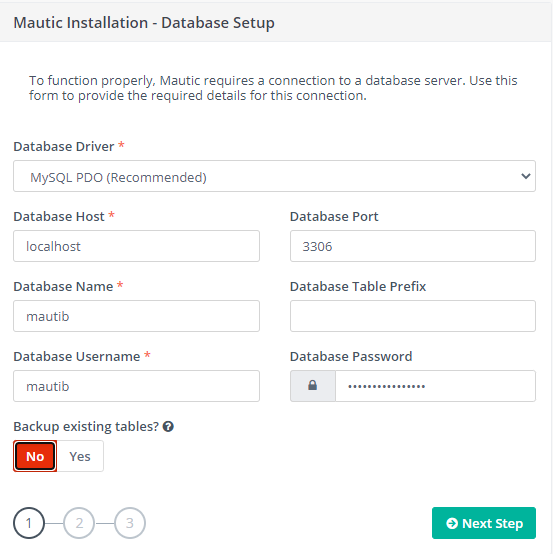
10- Create your database;
Database > Add database > create name, login and password
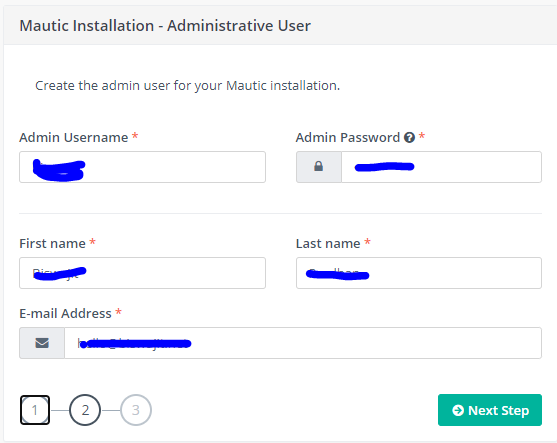
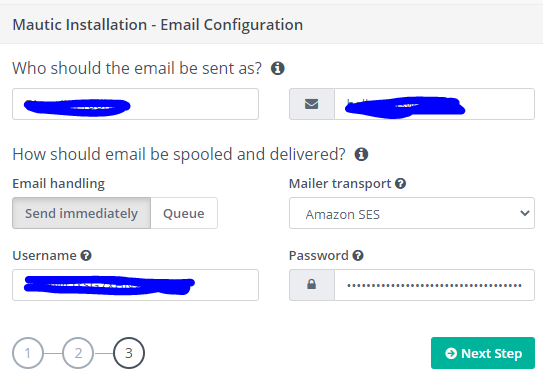
10- Run installer
11- Good job and be happy;