aaWAF working principle
aaWAF usage tutorial: aaWAF usage tutorial
aaWAF composed of three main components:
- cloudwaf_nginx (referred as nginx) is used to inspect and filter malicious traffic and forward traffic to website server.
- cloudwaf_mysql (referred as mysql) is used to store attack event logs.
- CloudWaf is Console of aaWAF, which provides Console for users use.
How does work?
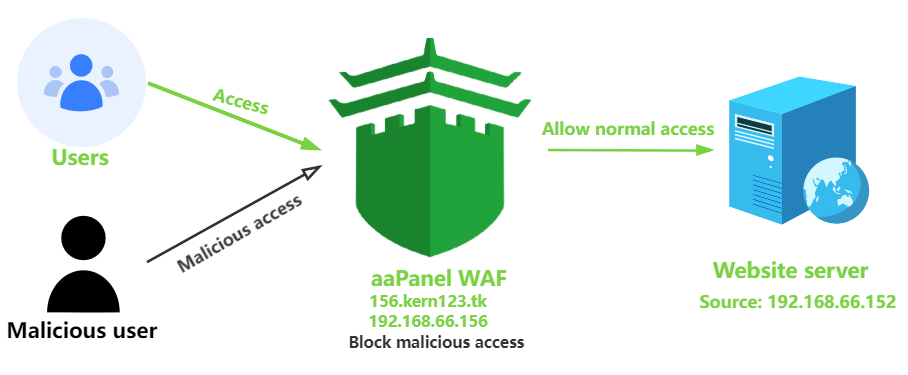
aaWAF work as reverse proxy. Website traffic first arrives at aaWAF. After being detected and filtered by aaWAF, it is then transferred to the website server that originally provided the service.
Example
Describe how to build aaWAF through simple example
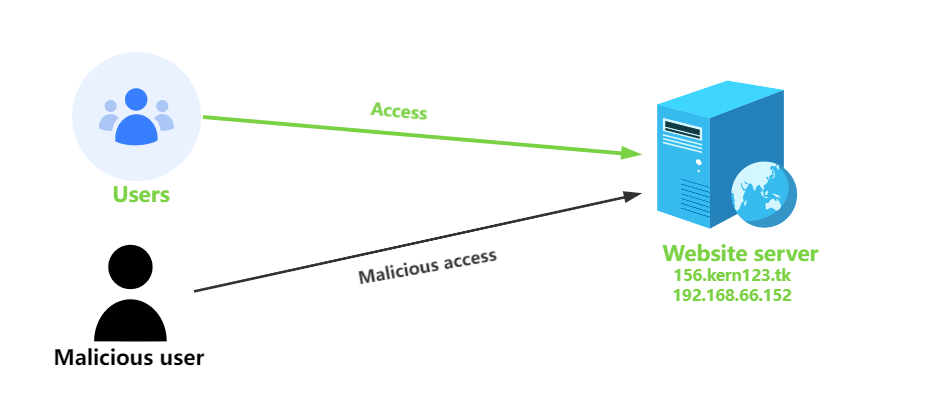
Before using aaWAF
All user traffic flows directly to the server hosting the website
- website domain:156.kern123.tk
- Website server IP, website domain A record IP:192.168.66.152
As shown:
After using aaWAF
All user traffic first flows to aaWAF, which filters malicious traffic through and then sends normal traffic to the origin server (website server is also called the return-to-origin server here).
- Protect website (website domain): 156.kern123.tk
- aaWAF 、Protect website A record ip:192.168.66.156
- Website server ip (Source address):192.168.66.152
As shown:
Install method
Online install
Recommended use this install method
Use SSH tool login server and execute following command install:
*Note that ROOT permission is required to execute the command
After copy and past command, press Enter execute the install command.
URL=https://node.aapanel.com/cloudwaf_en/scripts/install_cloudwaf_en.sh && if [ -f /usr/bin/curl ];then curl -sSO "$URL" ;else wget -O install_cloudwaf_en.sh "$URL";fi;bash install_cloudwaf_en.sh

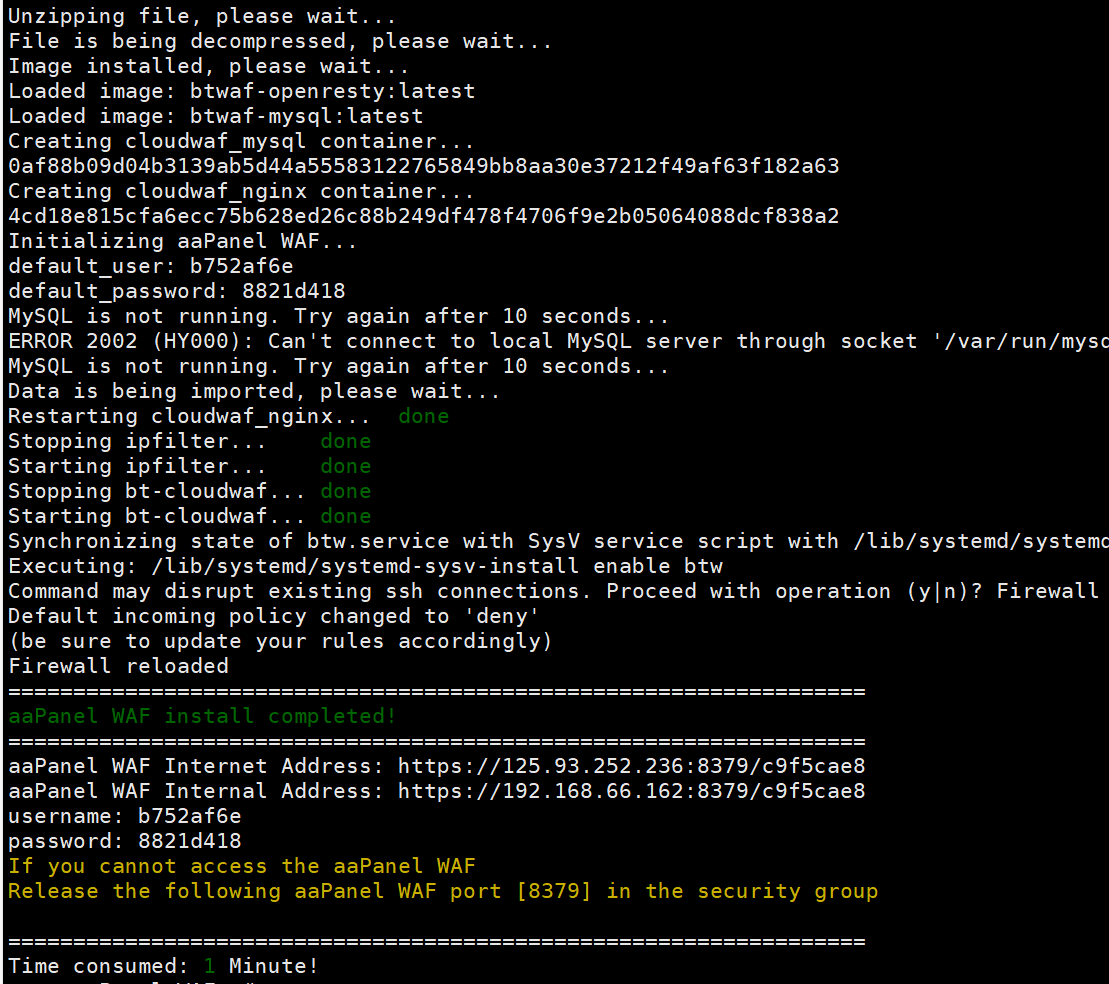
After install is complete, following is displayed
Login aaWAF Console
Console default port is 8379. If the server has security group or hardware firewall, please open port 8379.
After install is complete, Use browser access displayed address, enter username and password, Login aaWAF Console
Note: The browser prompts security questions, please trust it. This is caused by the browser not trusting the self-signed certificate.
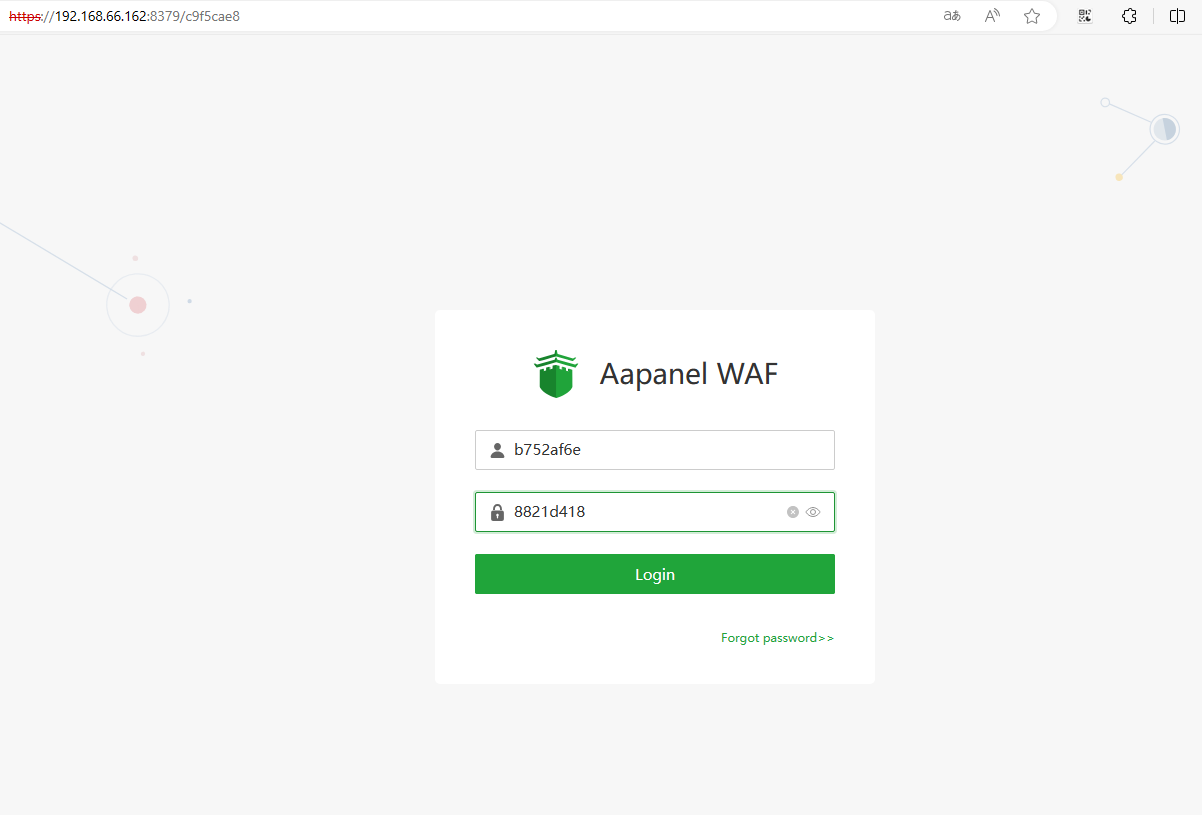
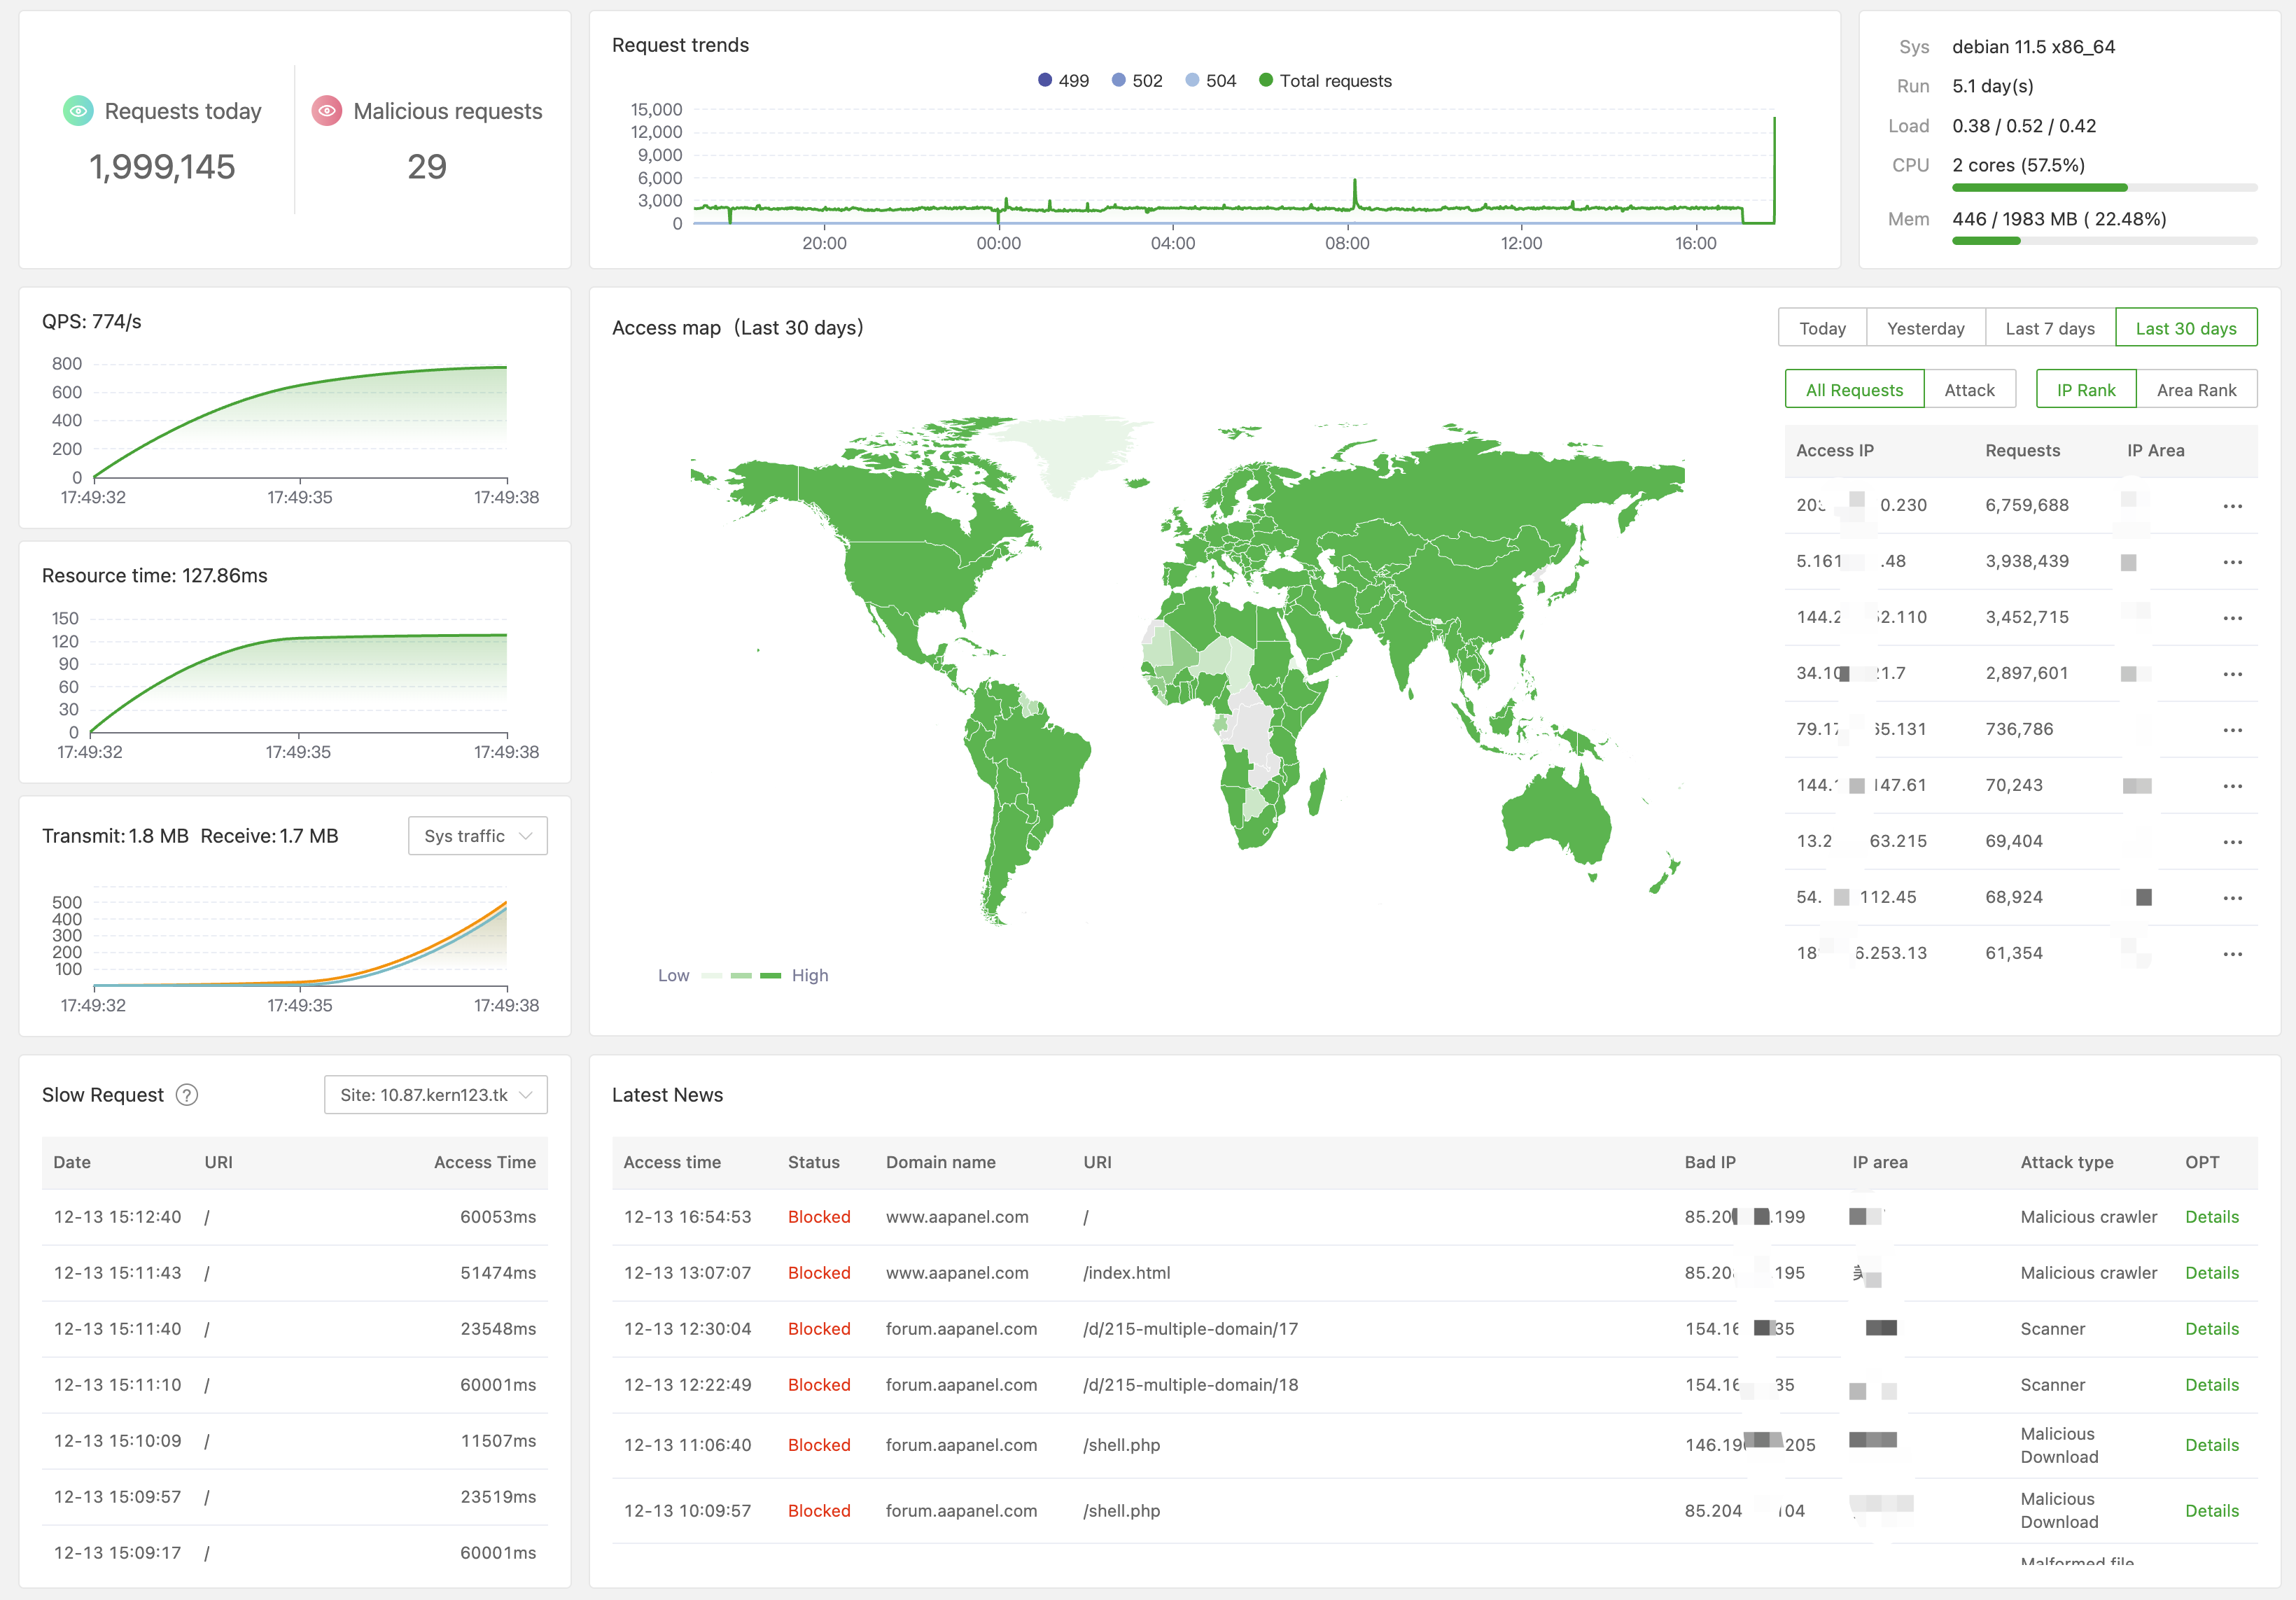
After successful login, Use aaWAF

Offline install
Note: This option applies when server cannot connect to Internet
Please download install file according system architecture. Use command uname -m view architecture.
x86_64:
After downloading file according different system architectures, Use xftp, winscp and other tools upload it to the server, place the downloaded file in the same path, and then execute the install command to install offline:
Note that root privileges are required execute command
bash install_cloudwaf_en.sh offline
After install is complete, Login steps are the same as online. Example: x86_64 architecture


aaWAF usage tutorial: aaWAF usage tutorial
If cannot solve it or have problems during use, please Start a Discussion in the forum.