Life is short, I use Python!
Our panel backend language is Python, and the convenience and speed of Python has been experienced by everyone. Do you want to deploy a blog of your own using Python Project Manager? This tutorial will teach you how to deploy DjangoBlog by hand.
DjangoBlog project address.
gitee:https://gitee.com/lylinux/DjangoBlog.git
github:https://github.com/liangliangyy/DjangoBlog
Server : Ubuntu 20.04 LTS
AAPanel version: Official 6.8.23
Python Project Manager: 2.0
Python version 3.8.12 (requires Python version 3.8+)
Nginx version: 1.21
MySQL version: 5.7.37
Port 8000 used by DjangoBlog released in the security group


The git tool needs to be installed.
RedHat|CentOS installation
yum install git -y
Debian|Ubuntu Installation
apt-get update

apt-get install git -y
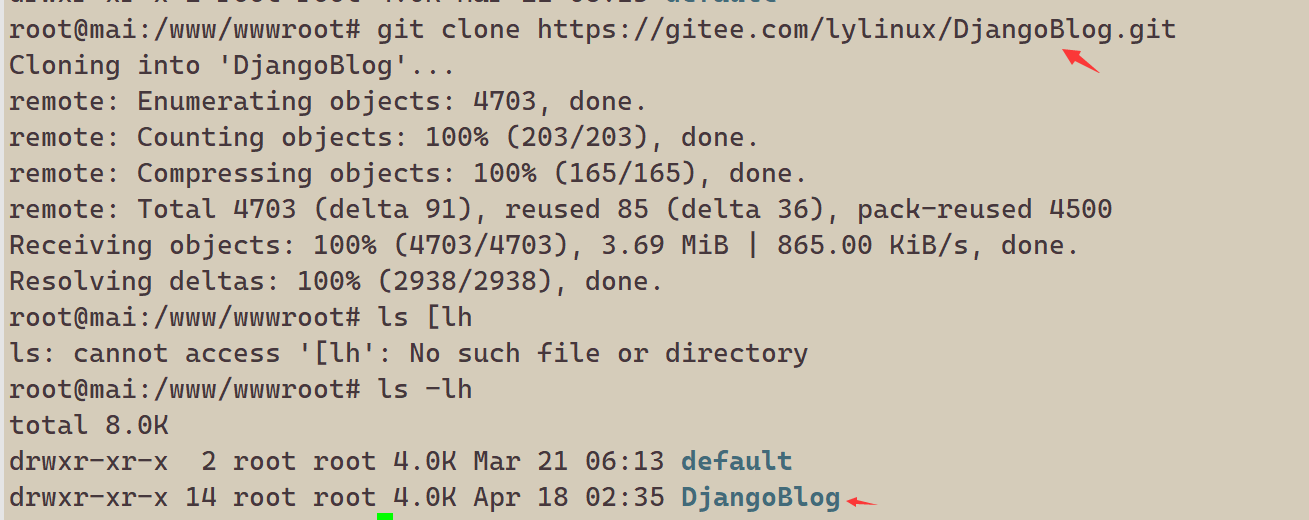
1、First download the project from gitee or github
cd /www/wwwroot
git clone https://gitee.com/lylinux/DjangoBlog.git
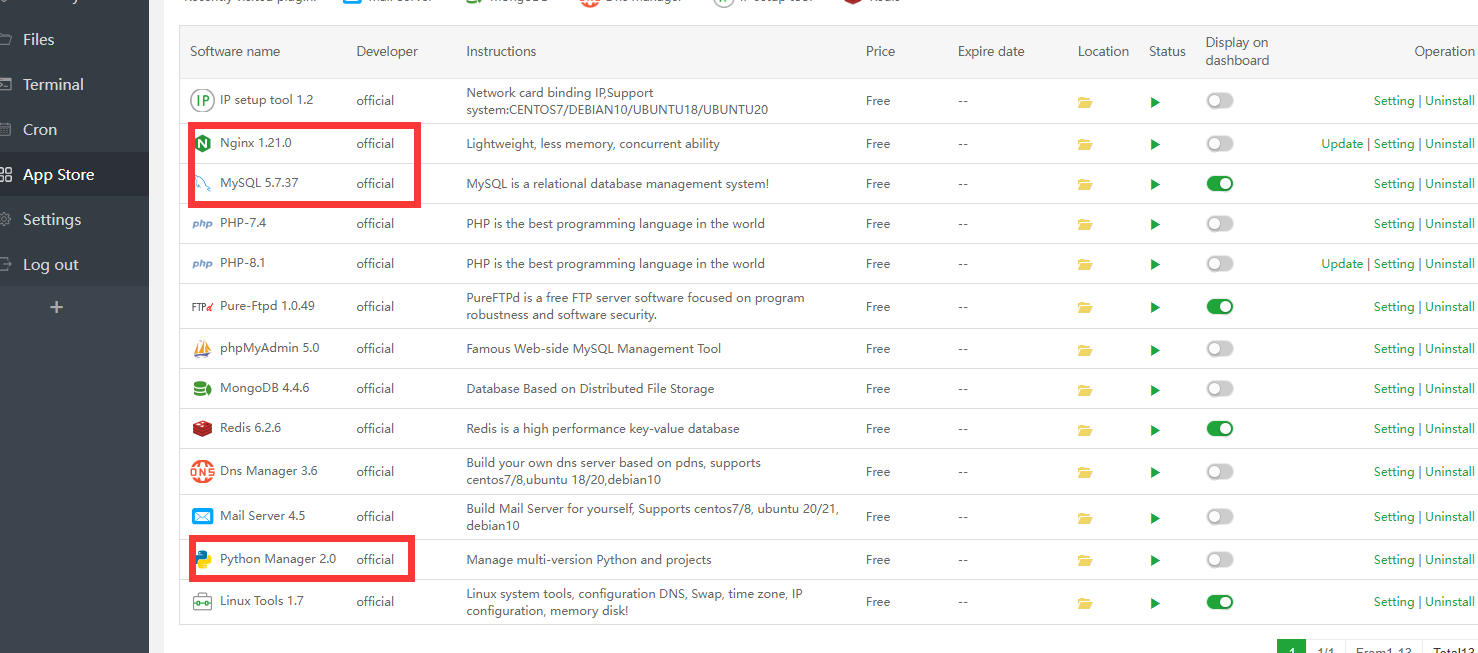
2、Install the Python project manager,Select Python version 3.8.12

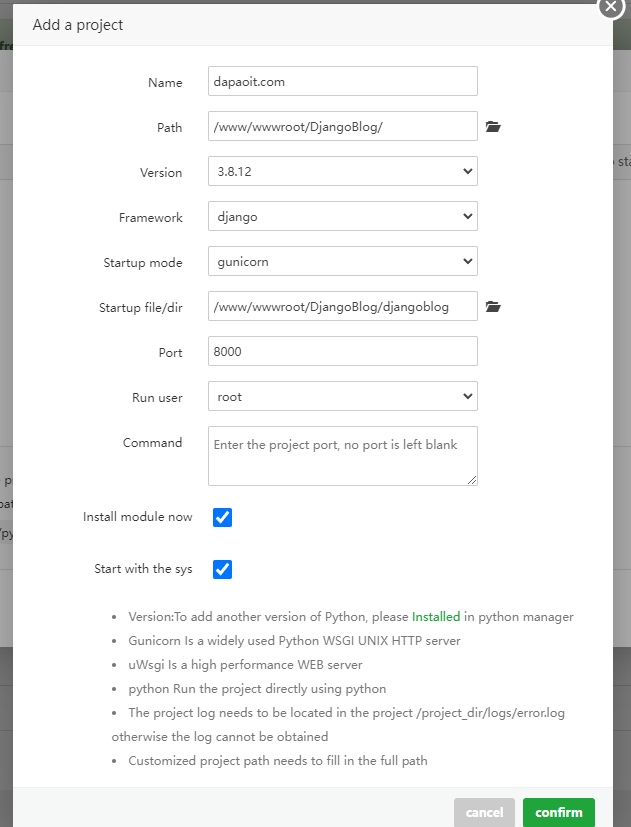
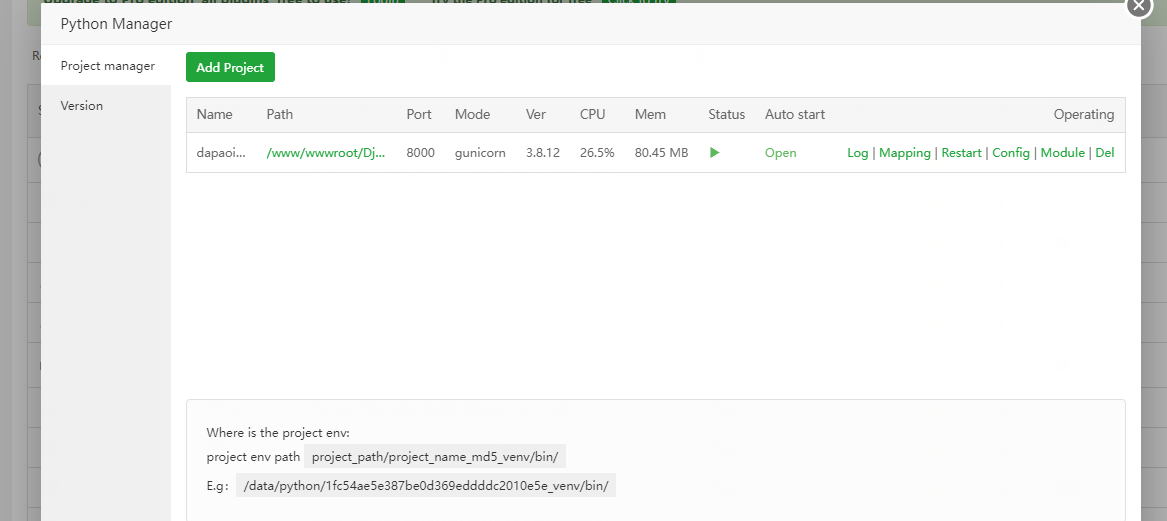
Adding a DjangoBlog project
Generate a new virtual environment and install the dependencies
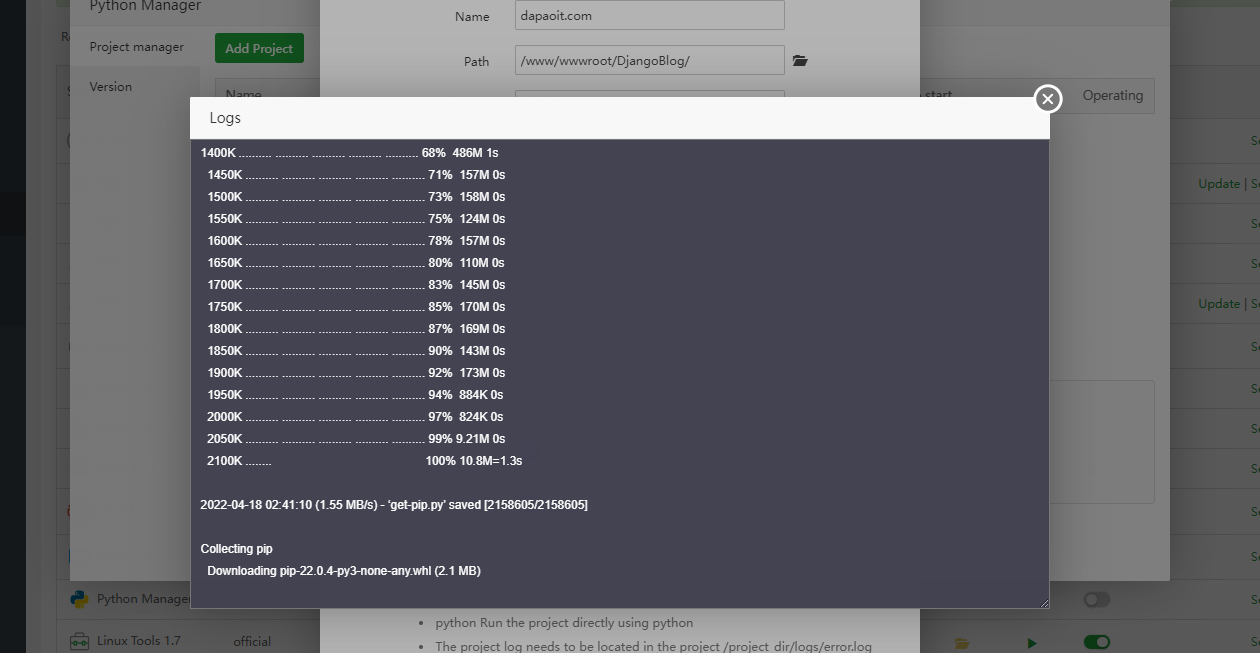
Deployment complete
3、We need to make data generation and configuration changes
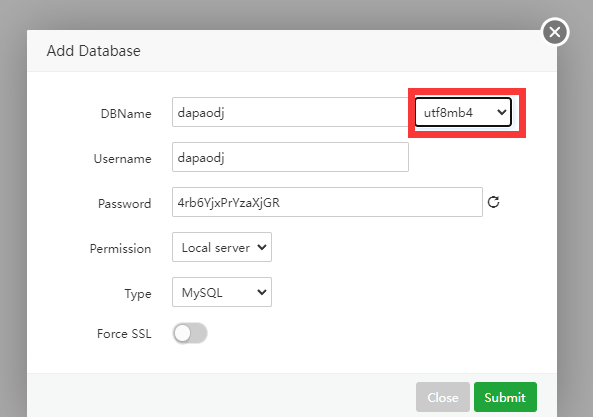
3.1、Add New Database
3.2、Modify configuration
/www/wwwroot/DjangoBlog/djangoblog/settings.py
Find this database configuration, comment
DATABASES = {

    'default': {

        'ENGINE': 'django.db.backends.mysql',

        'NAME': os.environ.get('DJANGO_MYSQL_DATABASE') or 'djangoblog',

        'USER': os.environ.get('DJANGO_MYSQL_USER') or 'root',

        'PASSWORD': os.environ.get('DJANGO_MYSQL_PASSWORD') or 'djangoblog_123',

        'HOST': os.environ.get('DJANGO_MYSQL_HOST') or '127.0.0.1',

        'PORT': int(

            os.environ.get('DJANGO_MYSQL_PORT') or 3306),

        'OPTIONS': {

            'charset': 'utf8mb4'},

    }}
Modify it to
DATABASES = {

    'default': {

        'ENGINE': 'django.db.backends.mysql',

        'NAME': 'dapaodj',

        'USER': 'dapaodj',

        'PASSWORD': '4rb6YjxPrYzaXjGR',

        'HOST': 'localhost',

        'PORT': 3306,

    }

}
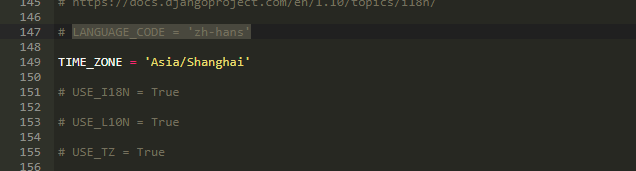
Find this database configuration, comment
`LANGUAGE_CODE = 'zh-hans'
TIME_ZONE = 'Asia/Shanghai'
USE_I18N = True
USE_L10N = True
USE_TZ = True`
After modification, save to exit editing
4、Go to the project's Python virtual environment directory
Note that the virtual directory is a hexadecimal directory, it is a random one, yours may be different from mine, please execute the following command according to your directory
/www/wwwroot/DjangoBlog/efef6d51d3e8c4bb0e2659a7c23ac1ae_venv/bin
4.1、Perform initialization

em em em em Mas senti-me desconfortável ao operar desta forma, por isso fiz uma ligação suave ao comando do sistema para que pudesse executar python38, exemplo.
ln -s /www/wwwroot/DjangoBlog/efef6d51d3e8c4bb0e2659a7c23ac1ae_venv/bin/python3 /usr/bin/python38
Parece muito mais simples desta forma
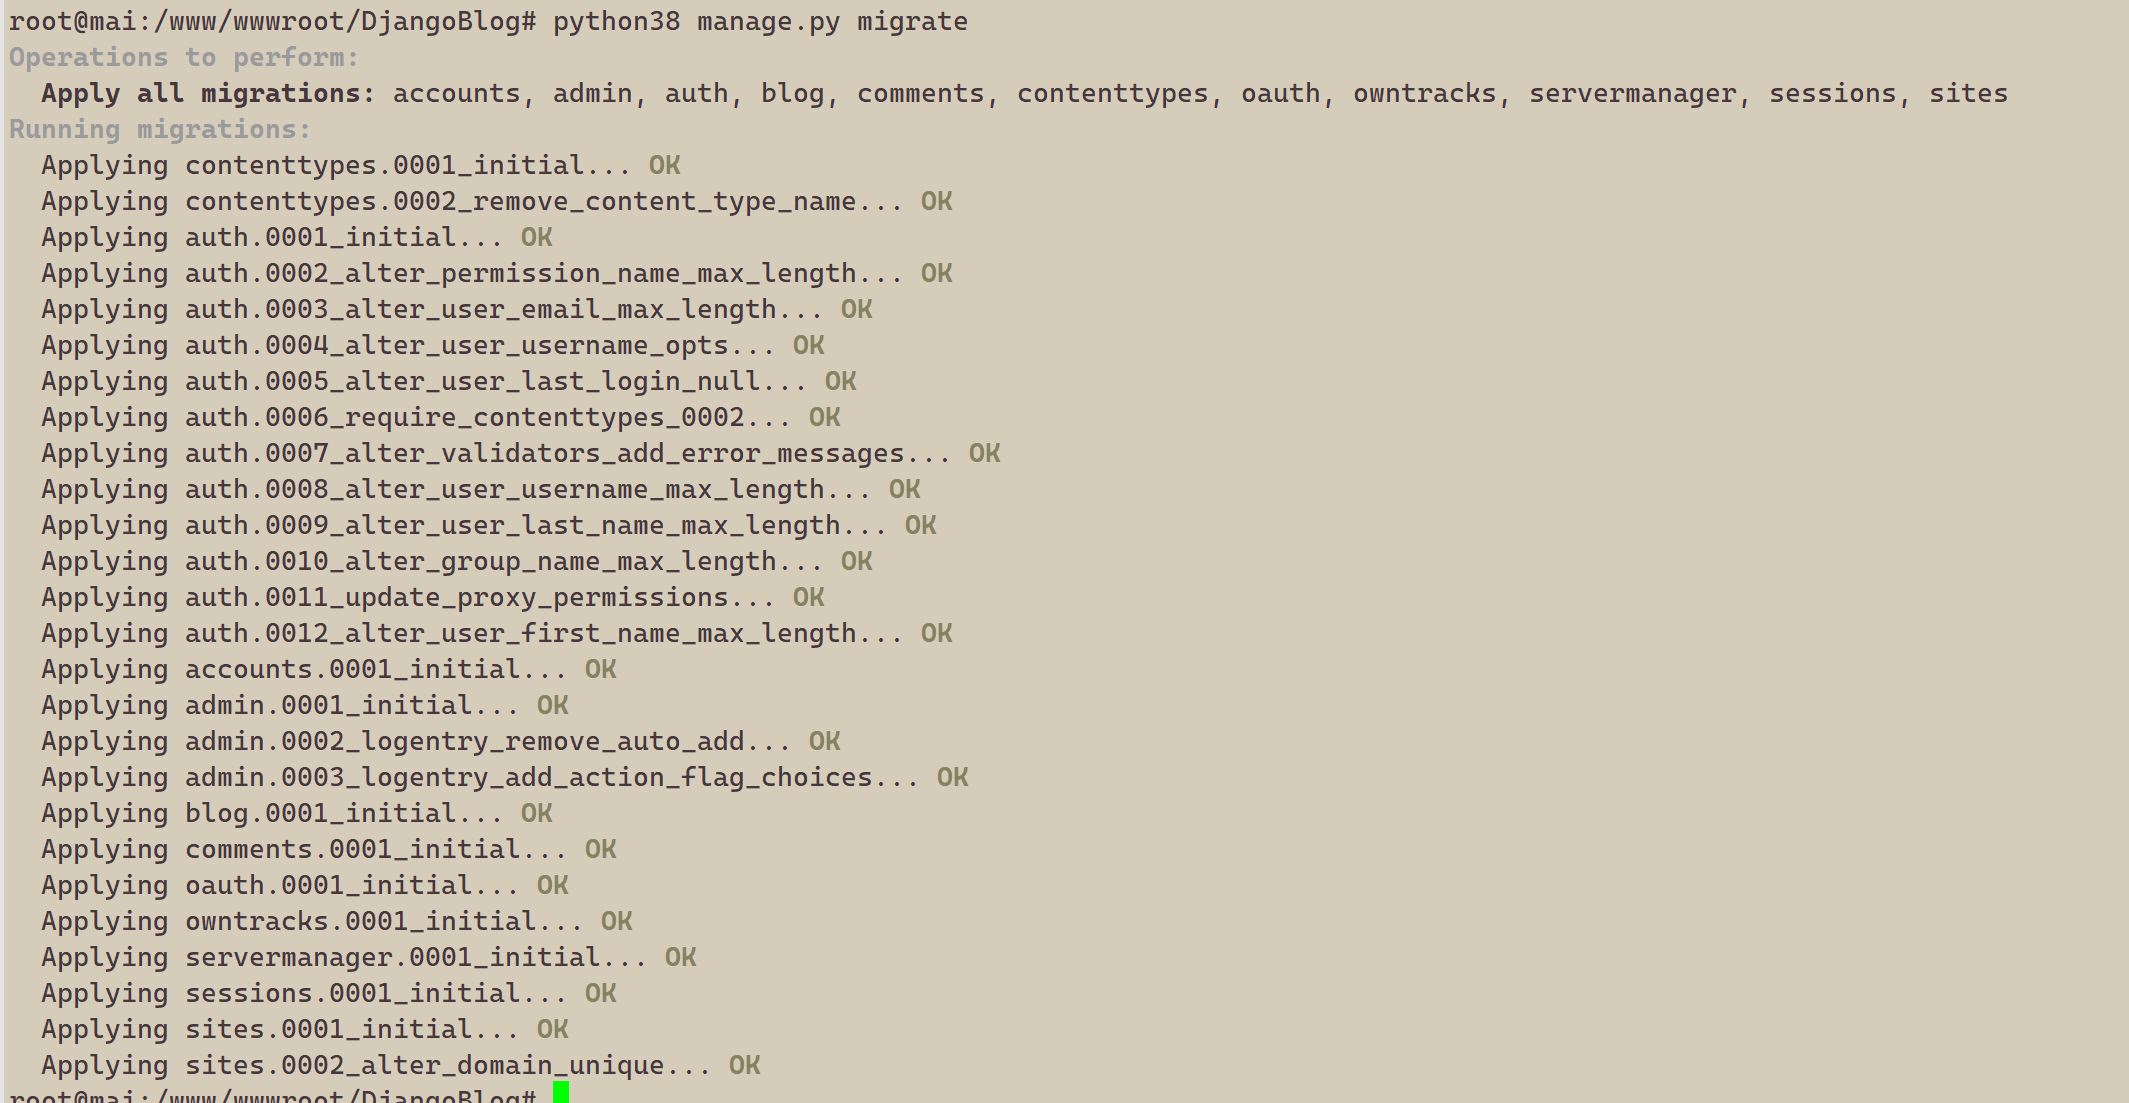
python38 manage.py makemigrations
python38 manage.py migrate
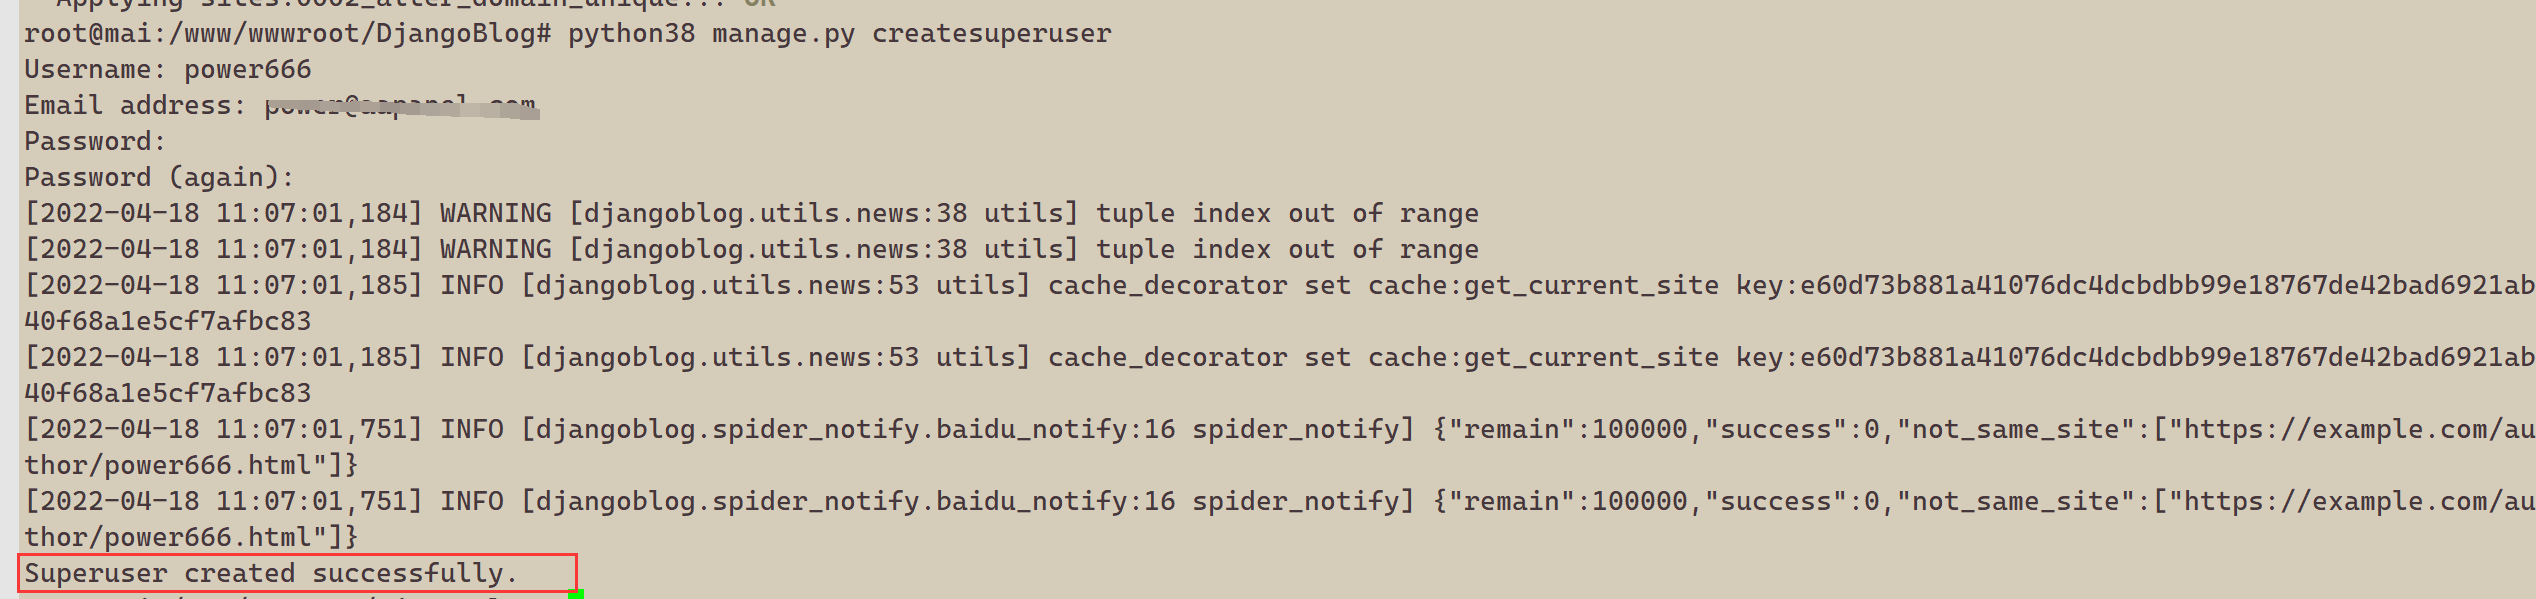
5、Criar uma conta de administrador para entrar no nosso back office Djangoblog admin
python38 manage.py createsuperuser
5.1、Gerar alguns dados de teste
python38 manage.py create_testdata

6、Generate static files
python38 manage.py collectstatic --noinput

python38 manage.py compress --force
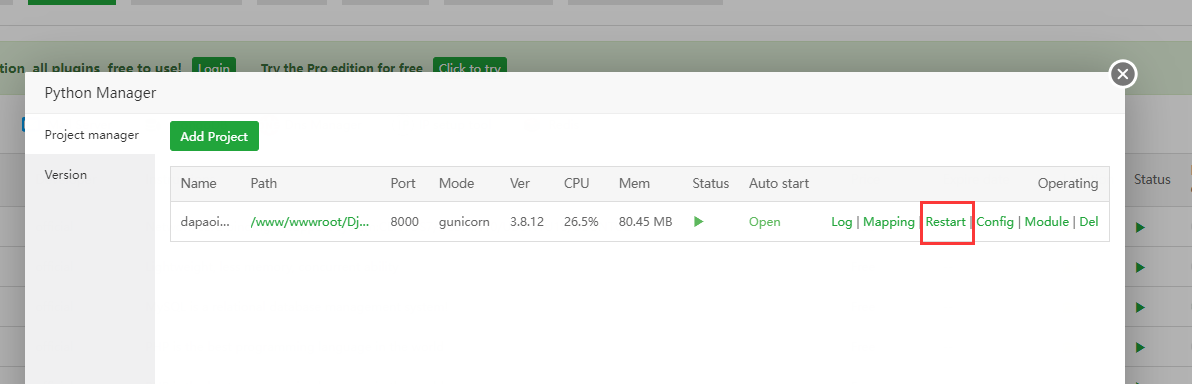
7、After configuration, restart the project
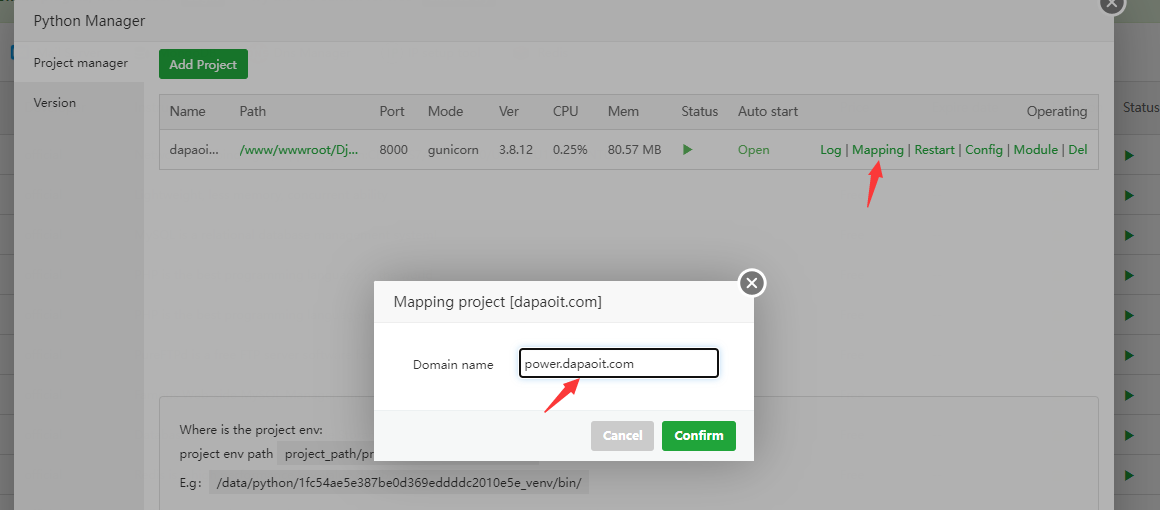
8、Map the domain name we prepared to the front-end Nginx, which forwards the request to the back-end Python
Open the site in WebSite
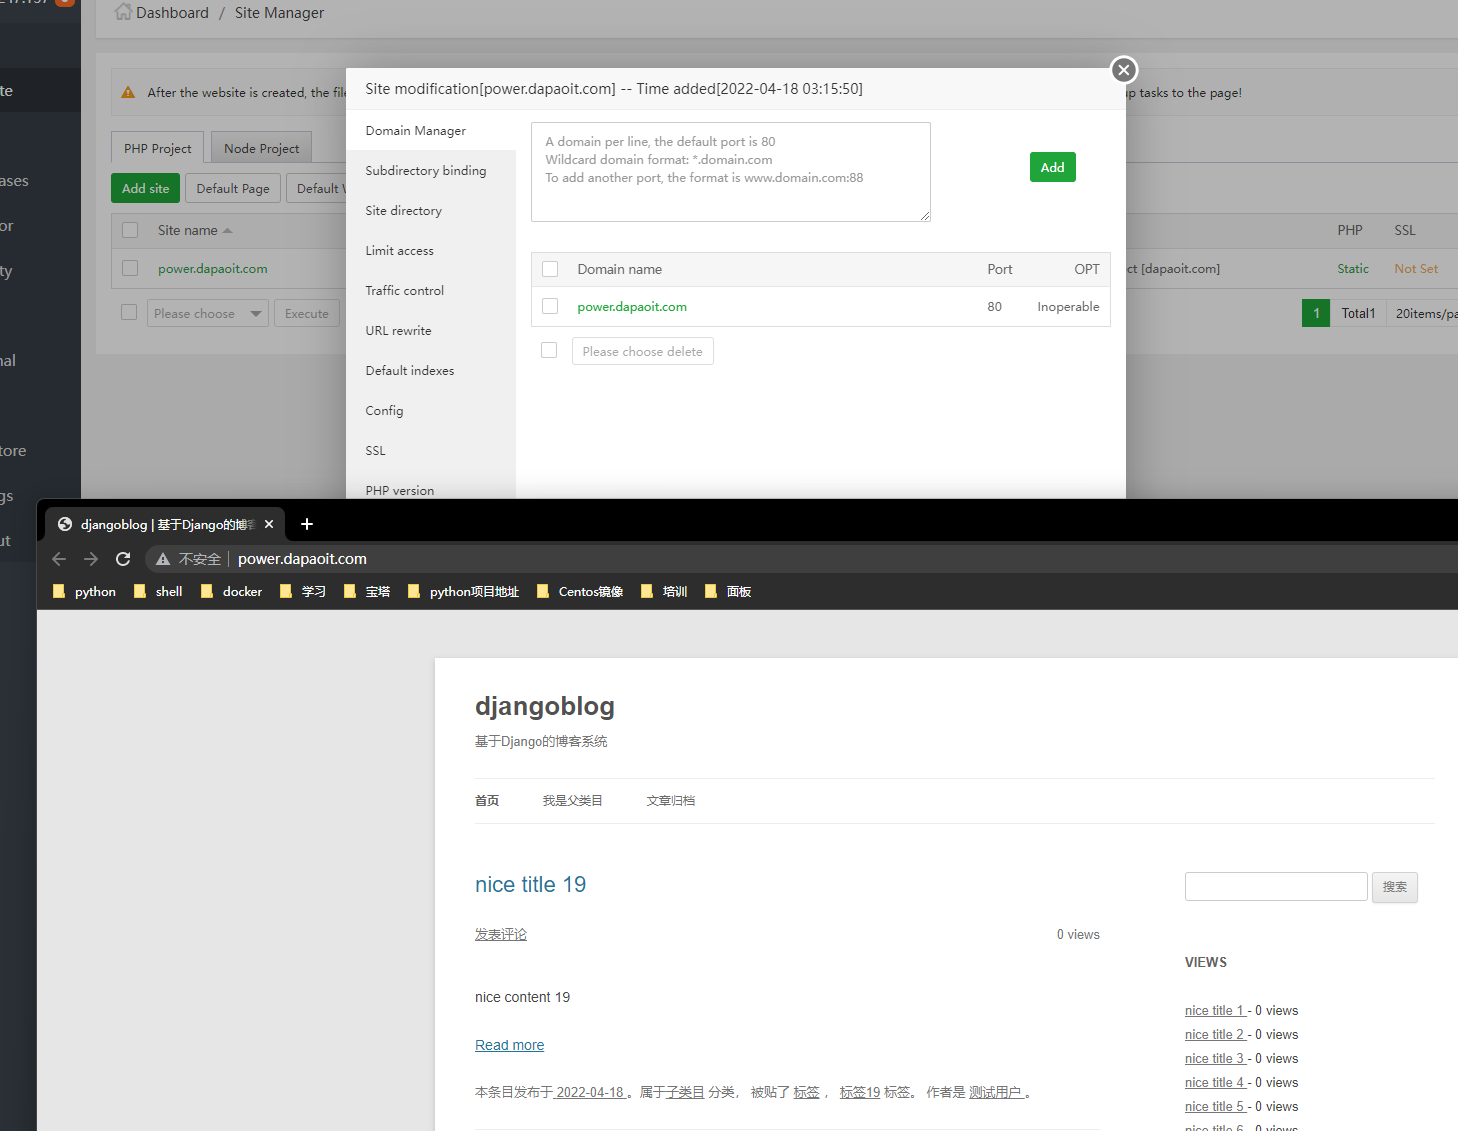
This is our back office address:
http://power.dapaoit.com/admin/