We are excited to guide you through the comprehensive process of How to Install WordPress, starting from purchasing the hosting, moving on to installing aaPanel, and culminating in the installation of WordPress itself.
Step 1: purchase a suitable host to Install WordPress
To install WordPress using self-hosting, we first need to purchase a suitable host. Here we use the server provided by vultr
Select your CPU type.
“For the purposes of testing, we have opted for a shared CPU configuration in this post.”
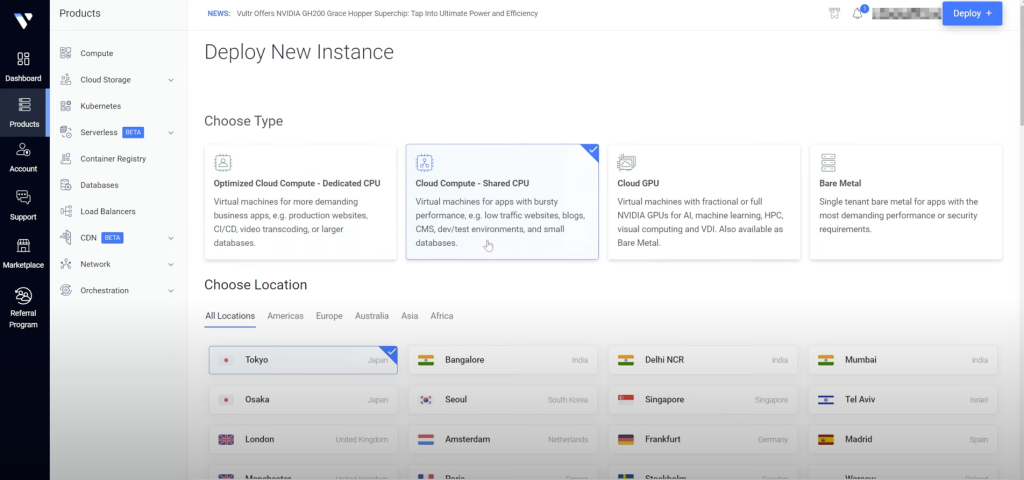
Choose the server location
When selecting a server location, it is advisable to opt for a region that aligns with the geographical scope of your business operations.
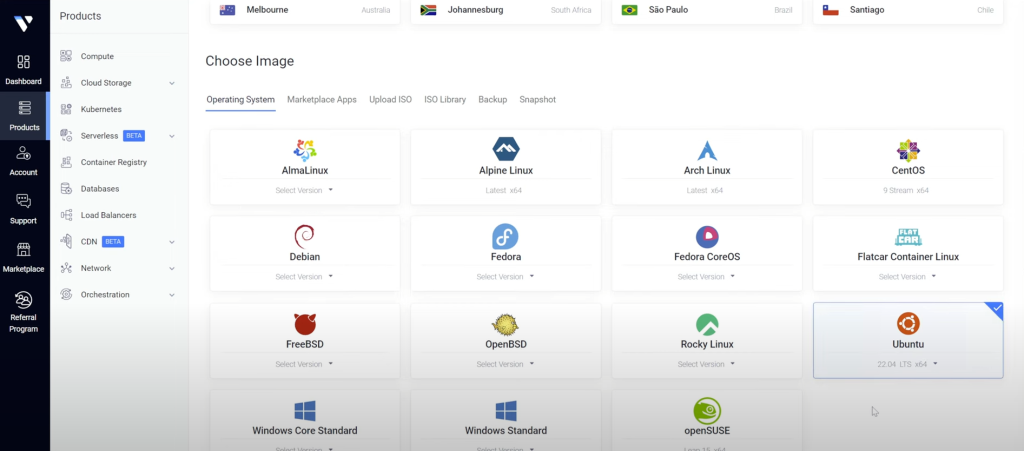
Choose the server image
According to aaPanel’s recommendation, it is advisable to utilize the Ubuntu 22.04 operating system for optimal performance and compatibility.
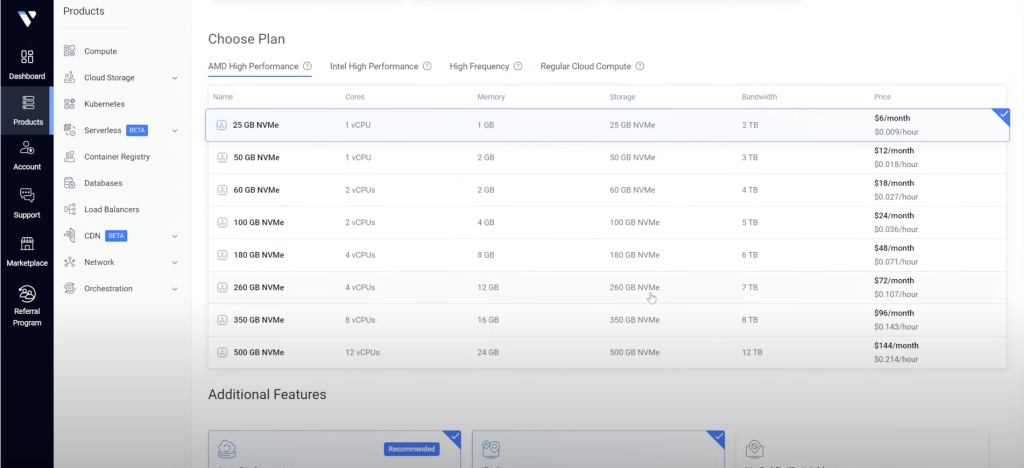
Choose a server configuration
When considering the optimal server configuration for your business operations, it is crucial to select a setup that aligns perfectly with your specific requirements and goals. If you are just starting a business, we recommend that you purchase the lowest configuration.
Keep automatic backups activated
We highly recommend implementing automatic backups as a proactive measure to ensure swift restoration in the event of unforeseen disasters or critical system failures.
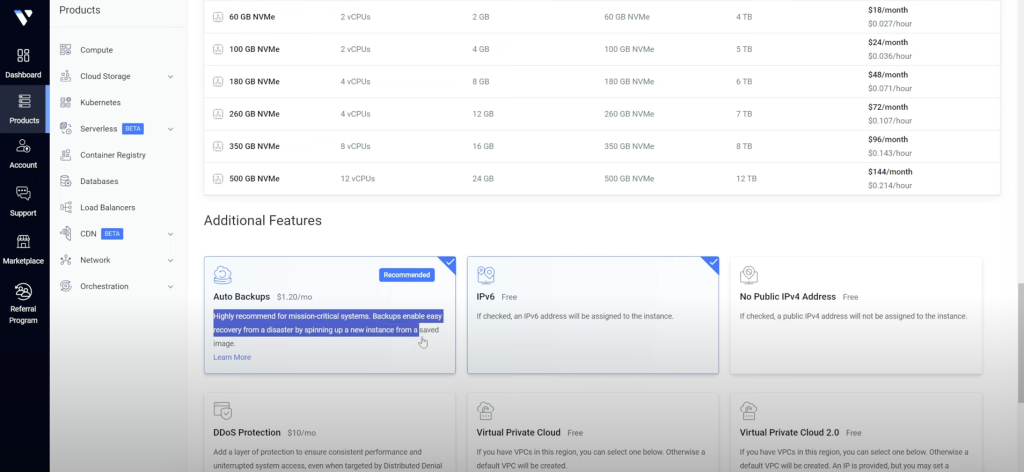
After the selection is completed, we click the Deploy Now button and wait for the host deployment to complete
Step 2: install aaPanel (cpanel alternatives) to Install WordPress
The whole process is very simple, Log in to the server through the terminal tool, Fill in the server SSH login information one by one into the terminal tool and click Connect
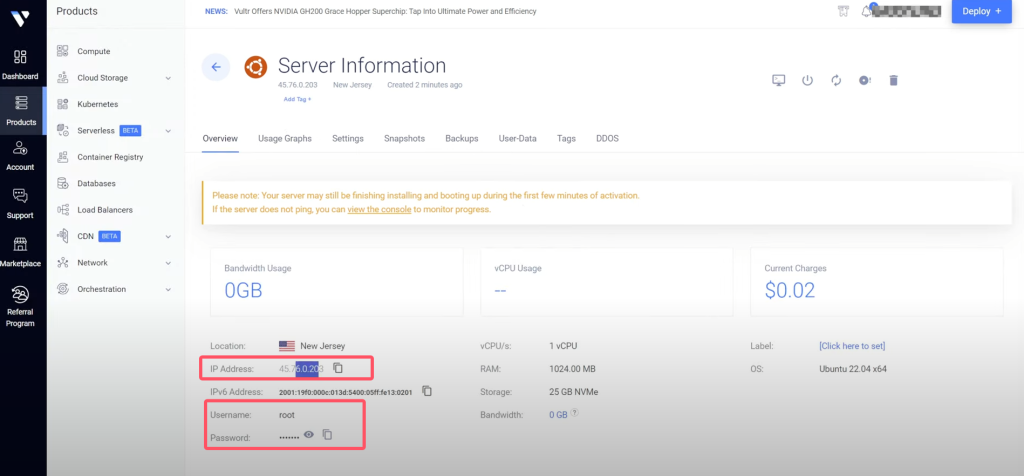
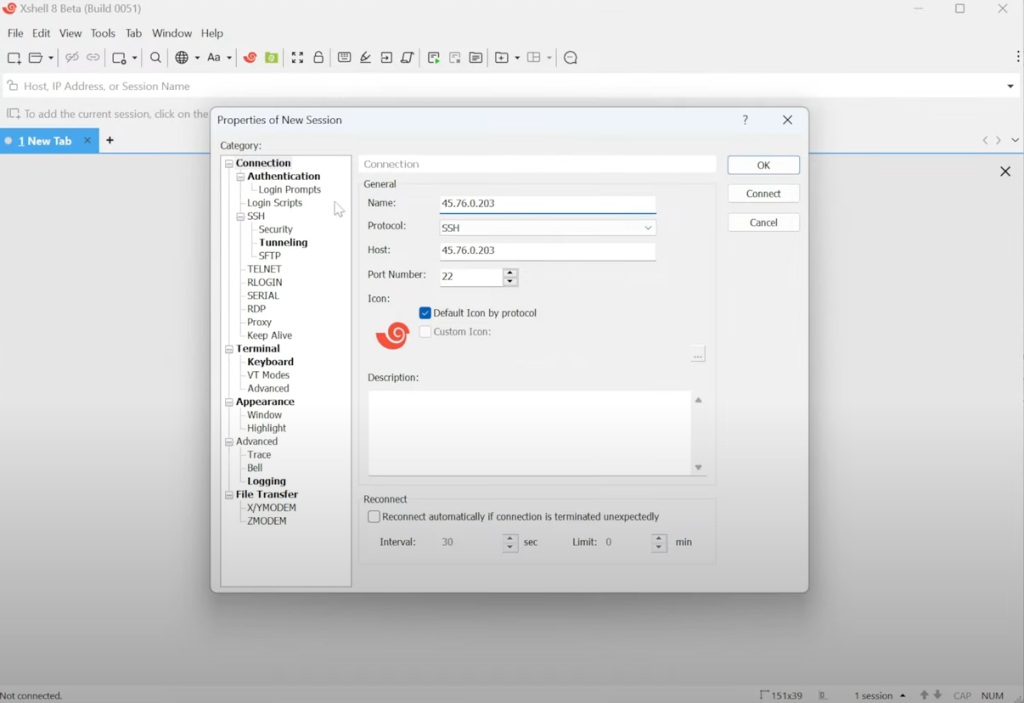
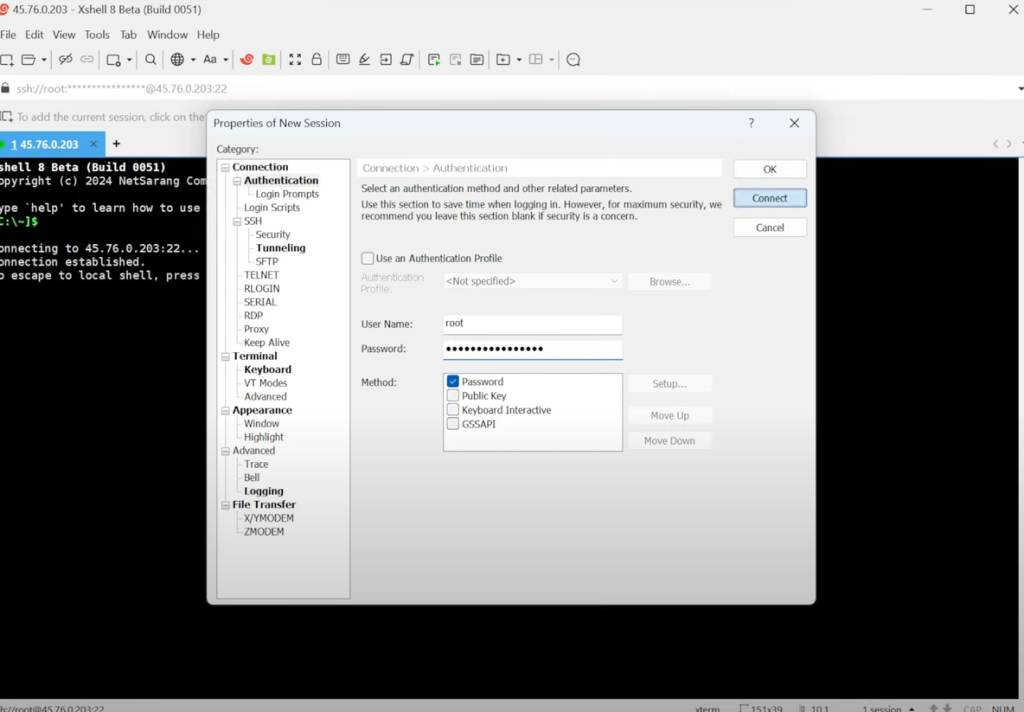
Go to the aaPanel website, click the install button to enter the installation instructions page, copy the installation command and paste it into the terminal and press Enter to start the installation
Download aaPanel: Hosting control panel – Download aaPanel
Install command:
URL=https://www.aapanel.com/script/install_7.0_en.sh && if [ -f /usr/bin/curl ];then curl -ksSO "$URL" ;else wget --no-check-certificate -O install_7.0_en.sh "$URL";fi;bash install_7.0_en.sh blog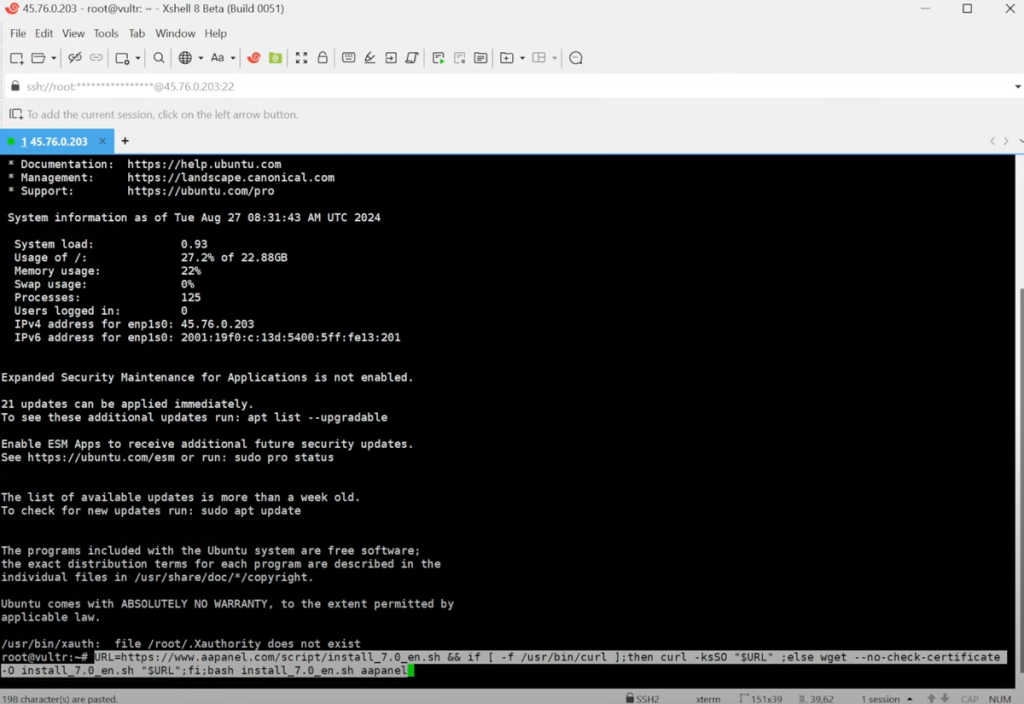
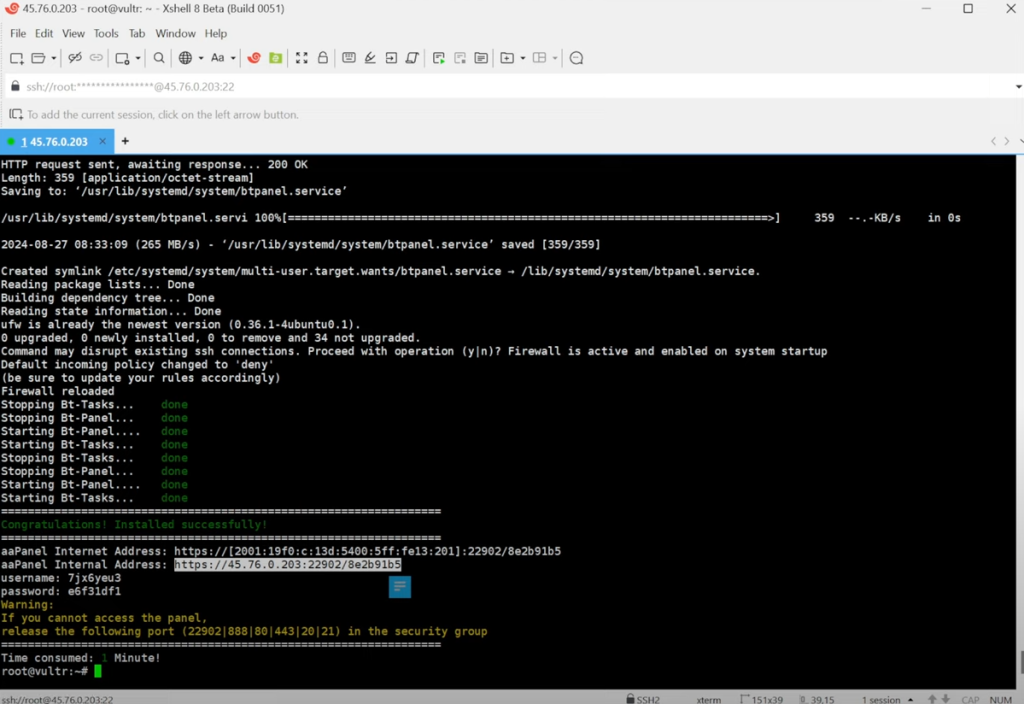
Wait for about 2 minutes for the installation to complete
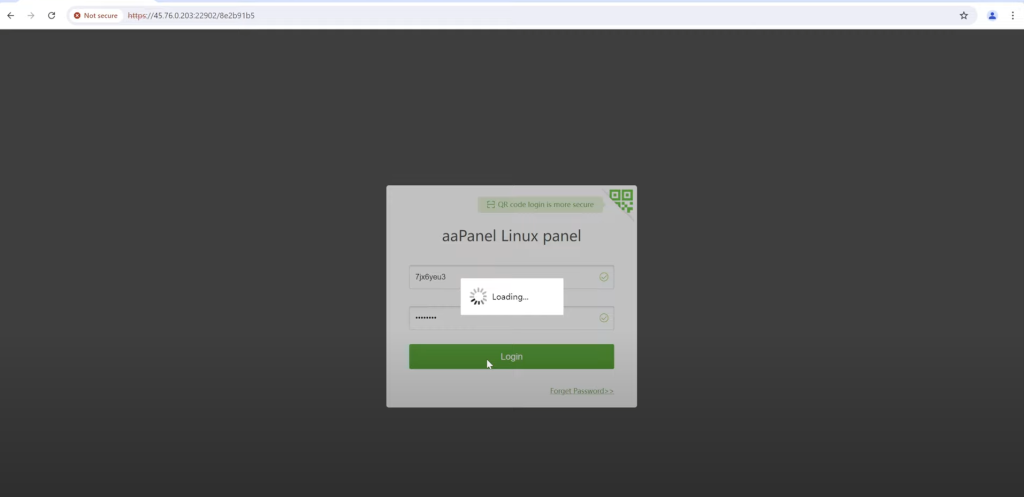
After the installation is complete, we can copy the login information from the terminal to log in to the a panel
Step 3: Install LNMP environment(Linux, Nginx, Mysql, PHP) to Install WordPress
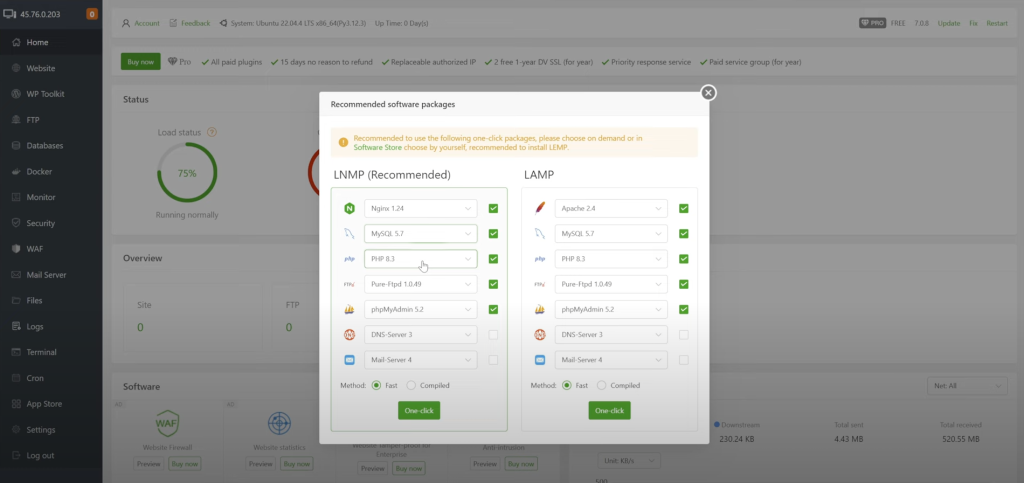
After logging into aaPanel, select the LNMP environment package according to the recommended prompts, and select the MySQL and PHP versions you need
The environment installation process takes about 7 minutes
Step 4: Start installing wordpress with aaPanel WP Toolkit
It should be noted that we need to log in to the aapanel account to use WordPress Toolkit. The registration process is very simple
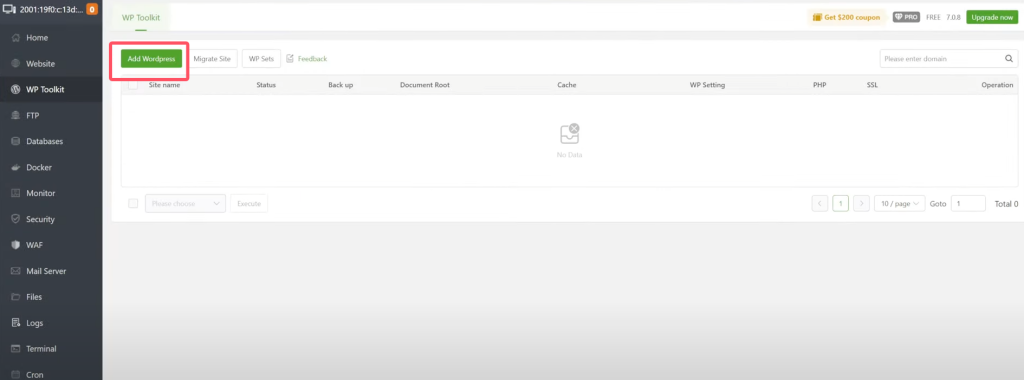
On the WP Toolkit page, click the add WordPress button.
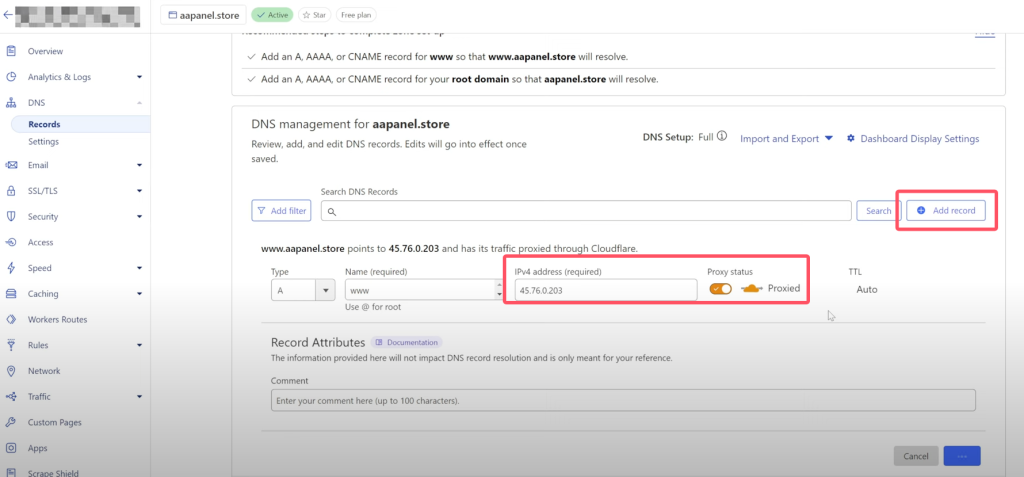
Enter your domain name. Given the time required for domain name resolution to propagate effectively, we advise initiating the domain name resolution process promptly at this junent. We use cloudflare for domain name hosting, copy the server IP, log in it and add a domain name record
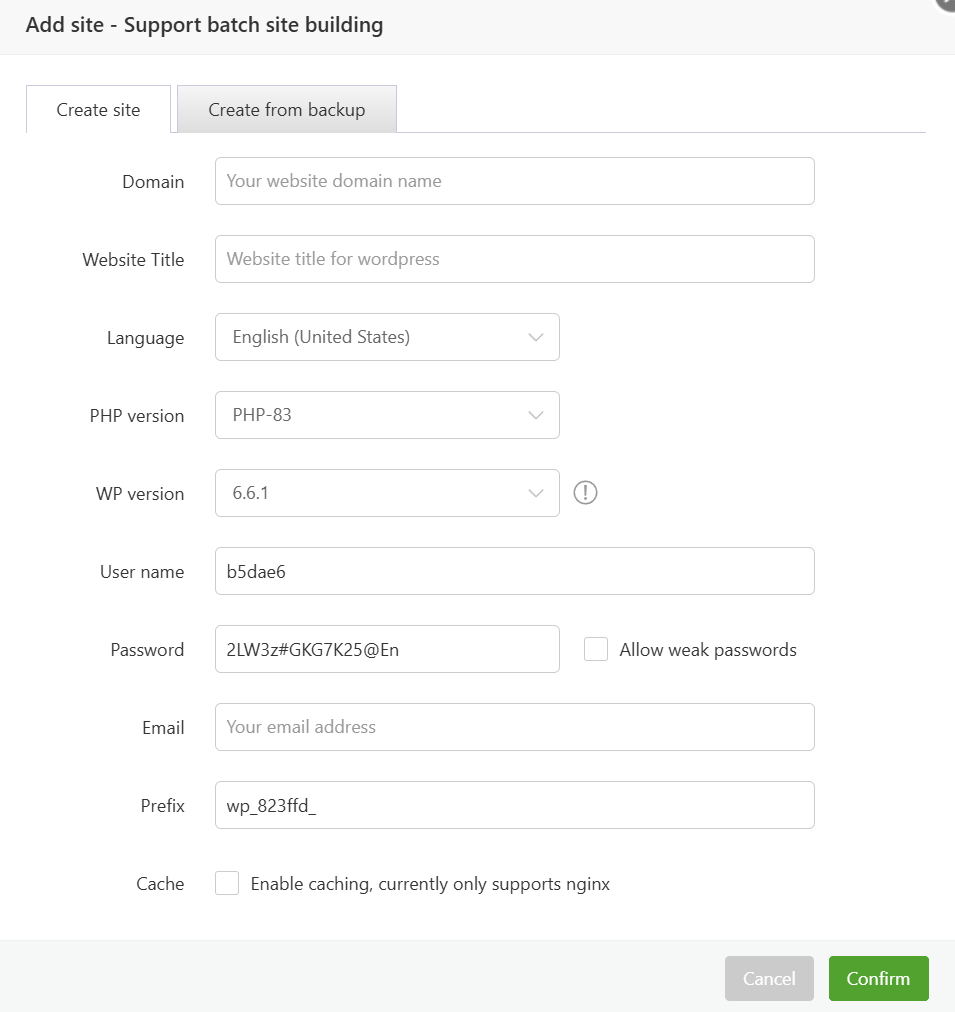
Enter our information. If you are using Nginx server, we recommend that you check the cache function to speed up WordPress access.
After the installation is complete, our wordpress is now accessible

Tutorial Summary
Learn how to choose a server configuration and how to self-host WordPress It only takes you 6 minutes to install aaPanel and complete the wordpress installation.
WordPress Toolkit for aaPanel to manage WP sites more efficiently:
Quickly install plugins and themes from the Plugin Directory without leaving aaPanel.
Activate WordPress dedicated cache with one click to speed up your WordPress
Dedicated WordPress security options
Log in to your WordPress management platform without password
Get started here:
Hosting control panel – Download aaPanel
aaPanel WordPress Toolkit page:
